jQuery / Tutorial / input 값 변화 감지하는 방법
input 요소에 값을 입력하거나 선택했을 때, 이를 감지하여 어떤 작업을 할 수 있습니다.
input의 type이 number일 때, checkbox일 때, radio일 때로 나누어서 어떻게 감지하는지 알아봅니다.
목차
input type="number"
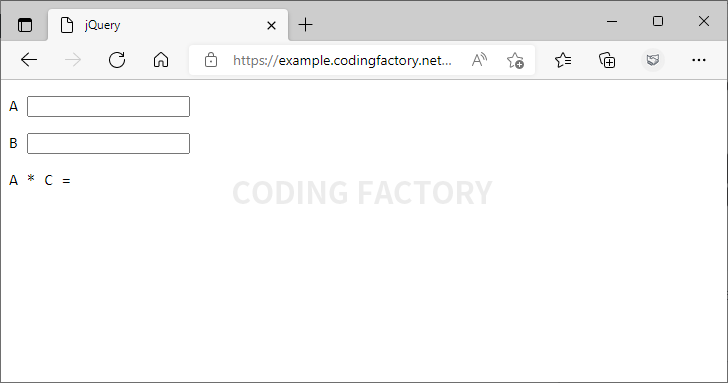
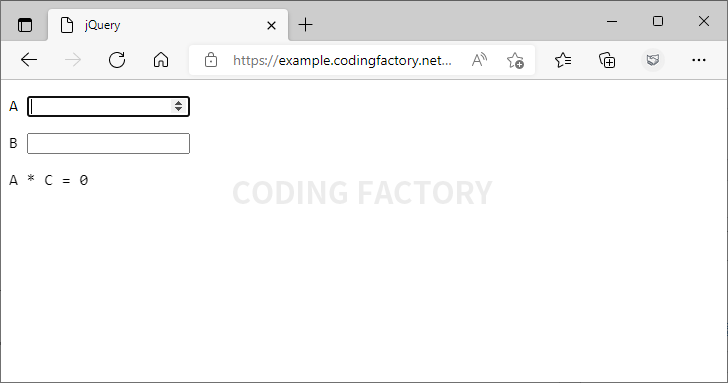
- 숫자를 입력할 수 있는 폼 두 개를 만들고, 값을 입력했을 때 두 수의 곱을 출력해보겠습니다.
<!doctype html>
<html lang="ko">
  <head>
    <meta charset="utf-8">
    <title>jQuery</title>
    <style>
      * {
        font-family: Consolas;
      }
    </style>
  </head>
  <body>
    <p>A <input type="number" id="a"></p>
    <p>B <input type="number" id="b"></p>
    <p>A * C = <span id="ab"></span></p>
  </body>
</html>
change()로 감지하기
- change()는 값을 입력하고 해당 폼을 벗어났을 때 변화를 감지합니다.
<!doctype html>
<html lang="ko">
  <head>
    <meta charset="utf-8">
    <title>jQuery</title>
    <script src="//code.jquery.com/jquery-3.3.1.min.js"></script>
    <script>
      $( document ).ready( function() {
        $( '#a, #b' ).change( function() {
          var a = $( '#a' ).val();
          var b = $( '#b' ).val();
          var ab = a * b;
          $( '#ab' ).text( ab );
        } );
      } );
    </script>
    <style>
      * {
        font-family: Consolas;
      }
    </style>
  </head>
  <body>
    <p>A <input type="number" id="a"></p>
    <p>B <input type="number" id="b"></p>
    <p>A * C = <span id="ab"></span></p>
  </body>
</html>
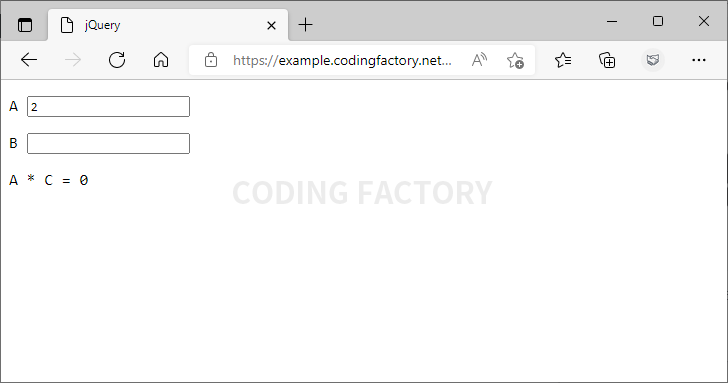
- 2를 입력하는 순간에는 아무 일이 없지만...
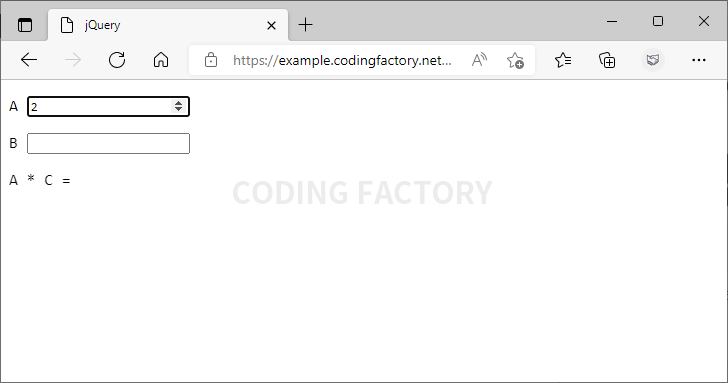
- 폼을 벗어나면 2와 0의 곱 0을 출력합니다.
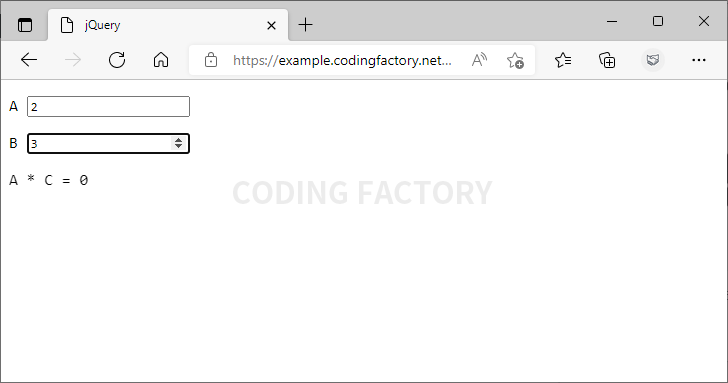
- 마찬가지로, 두 번째 폼에 3을 입력하는 순간에는 아무 일이 없지만...
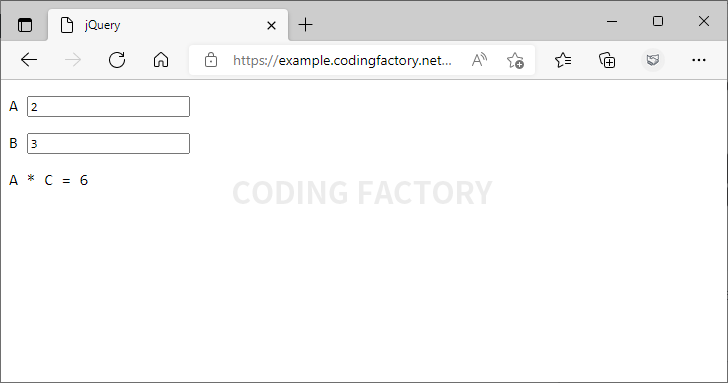
- 폼을 벗어나면 2와 3의 곱 6을 출력합니다.
keyup()으로 감지하기
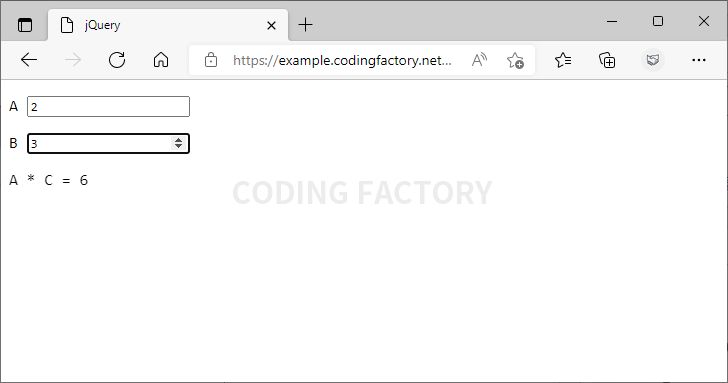
- change() 대신 keyup()을 사용하면 입력하는 순간 변화를 감지합니다.
<script>
  $( document ).ready( function() {
    $( '#a, #b' ).keyup( function() {
      var a = $( '#a' ).val();
      var b = $( '#b' ).val();
      var ab = a * b;
      $( '#ab' ).text( ab );
    } );
  } );
</script>
on()
- on()을 사용하여 여러 이벤트에 대해서 같은 작업을 할 수 있습니다. 다음은 폼을 선택했을 때도 계산 결과를 출력합니다.
<script>
  $( document ).ready( function() {
    $( '#a, #b' ).on( 'focus keyup', function() {
      var a = $( '#a' ).val();
      var b = $( '#b' ).val();
      var ab = a * b;
      $( '#ab' ).text( ab );
    } );
  } );
</script>
input type="checkbox"
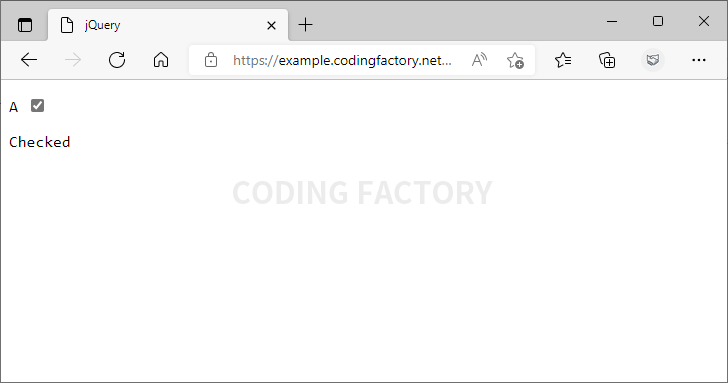
- 체크박스에 체크하면 Checked를 출력하고, 체크를 지우면 아무 것도 표시하지 않습니다.
<!doctype html>
<html lang="ko">
  <head>
    <meta charset="utf-8">
    <title>jQuery</title>
    <script src="//code.jquery.com/jquery-3.3.1.min.js"></script>
    <script>
      $( document ).ready( function() {
        $( '#a' ).change( function() {
          if ( $( '#a' ).is( ':checked' ) ) {
            $( '#b' ).text( 'Checked' );
          } else {
            $( '#b' ).text( '' );
          }
        } );
      } );
    </script>
    <style>
      * {
        font-family: Consolas;
      }
    </style>
  </head>
  <body>
    <p>A <input type="checkbox" id="a"></p>
    <p id="b"></p>
  </body>
</html>
- on()을 사용해도 됩니다.
<script>
  $( document ).ready( function() {
    $( '#a' ).on( 'change', function() {
      if ( $( '#a' ).is( ':checked' ) ) {
        $( '#b' ).text( 'Checked' );
      } else {
        $( '#b' ).text( '' );
      }
    } );
  } );
</script>
input type="radio"
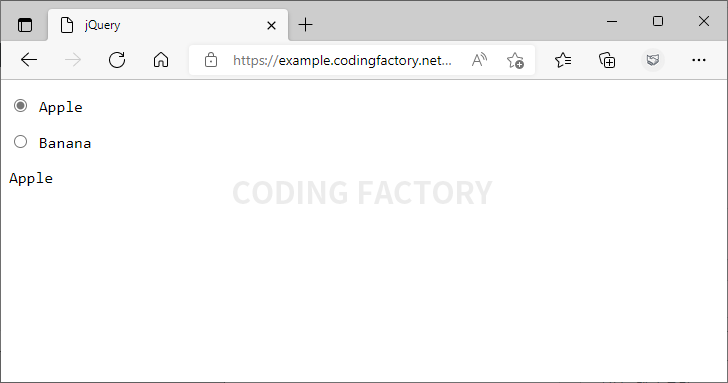
- 라디오 버튼을 클릭하면, 그 버튼에 해당하는 값이 출력됩니다.
<!doctype html>
<html lang="ko">
  <head>
    <meta charset="utf-8">
    <title>jQuery</title>
    <script src="//code.jquery.com/jquery-3.3.1.min.js"></script>
    <script>
      $( document ).ready( function() {
        $( 'input[name="fruit"]' ).change( function() {
          $( '#a' ).text( $( this ).val() );
        } );
      } );
    </script>
    <style>
      * {
        font-family: Consolas;
      }
    </style>
  </head>
  <body>
    <p><input type="radio" name="fruit" value="Apple"> Apple</p>
    <p><input type="radio" name="fruit" value="Banana"> Banana</p>
    <p id="a"></p>
  </body>
</html>
- on()을 사용해도 됩니다.
<script>
  $( document ).ready( function() {
    $( 'input[name="fruit"]' ).on( 'change', function() {
      $( '#a' ).text( $( this ).val() );
    } );
  } );
</script>
